
F.4 - How to update the provision token
For security reasons and to ensure continuous provisioning, your provision token must be renewed once a year. This article explains how to proceed.
💡 Key Information
How do I know when to renew the provision token?
Timly notifies you when your provision token needs to be renewed.
Who receives provision token renewal notifications?
Notification e-mails are sent to the primary administrator of your Timly account.
When should the provision token be renewed?
Your provision token should be renewed before its expiration date; otherwise, the provisioning will be automatically interrupted. To help you anticipate this, notifications are sent at the following times:
- 2 months before the token’s expiration date
- 1 month before the token’s expiration date
- 10 days before the token’s expiration date
🚨 Important Information
- Only renew the token if you are able to immediately update it in Microsoft Entra ID. Otherwise, provisioning will be automatically stopped.
- If provisioning is activated for both Users and Persons, you have two enterprise applications configured in your Identity Provider. You need to replace the token in both applications (typically called: 1) “Timly” and 2) “Timly Person Provisioning”).
🛜 Timly-App
Step 1

- Log in to Timly
- Click on "Settings," then "Single sign-on (SSO)"
- To update user provisioning, click on "Edit" below "Person provisioning"
- To update person provisioning, click on "Edit" below "Person provisioning"
Step 2
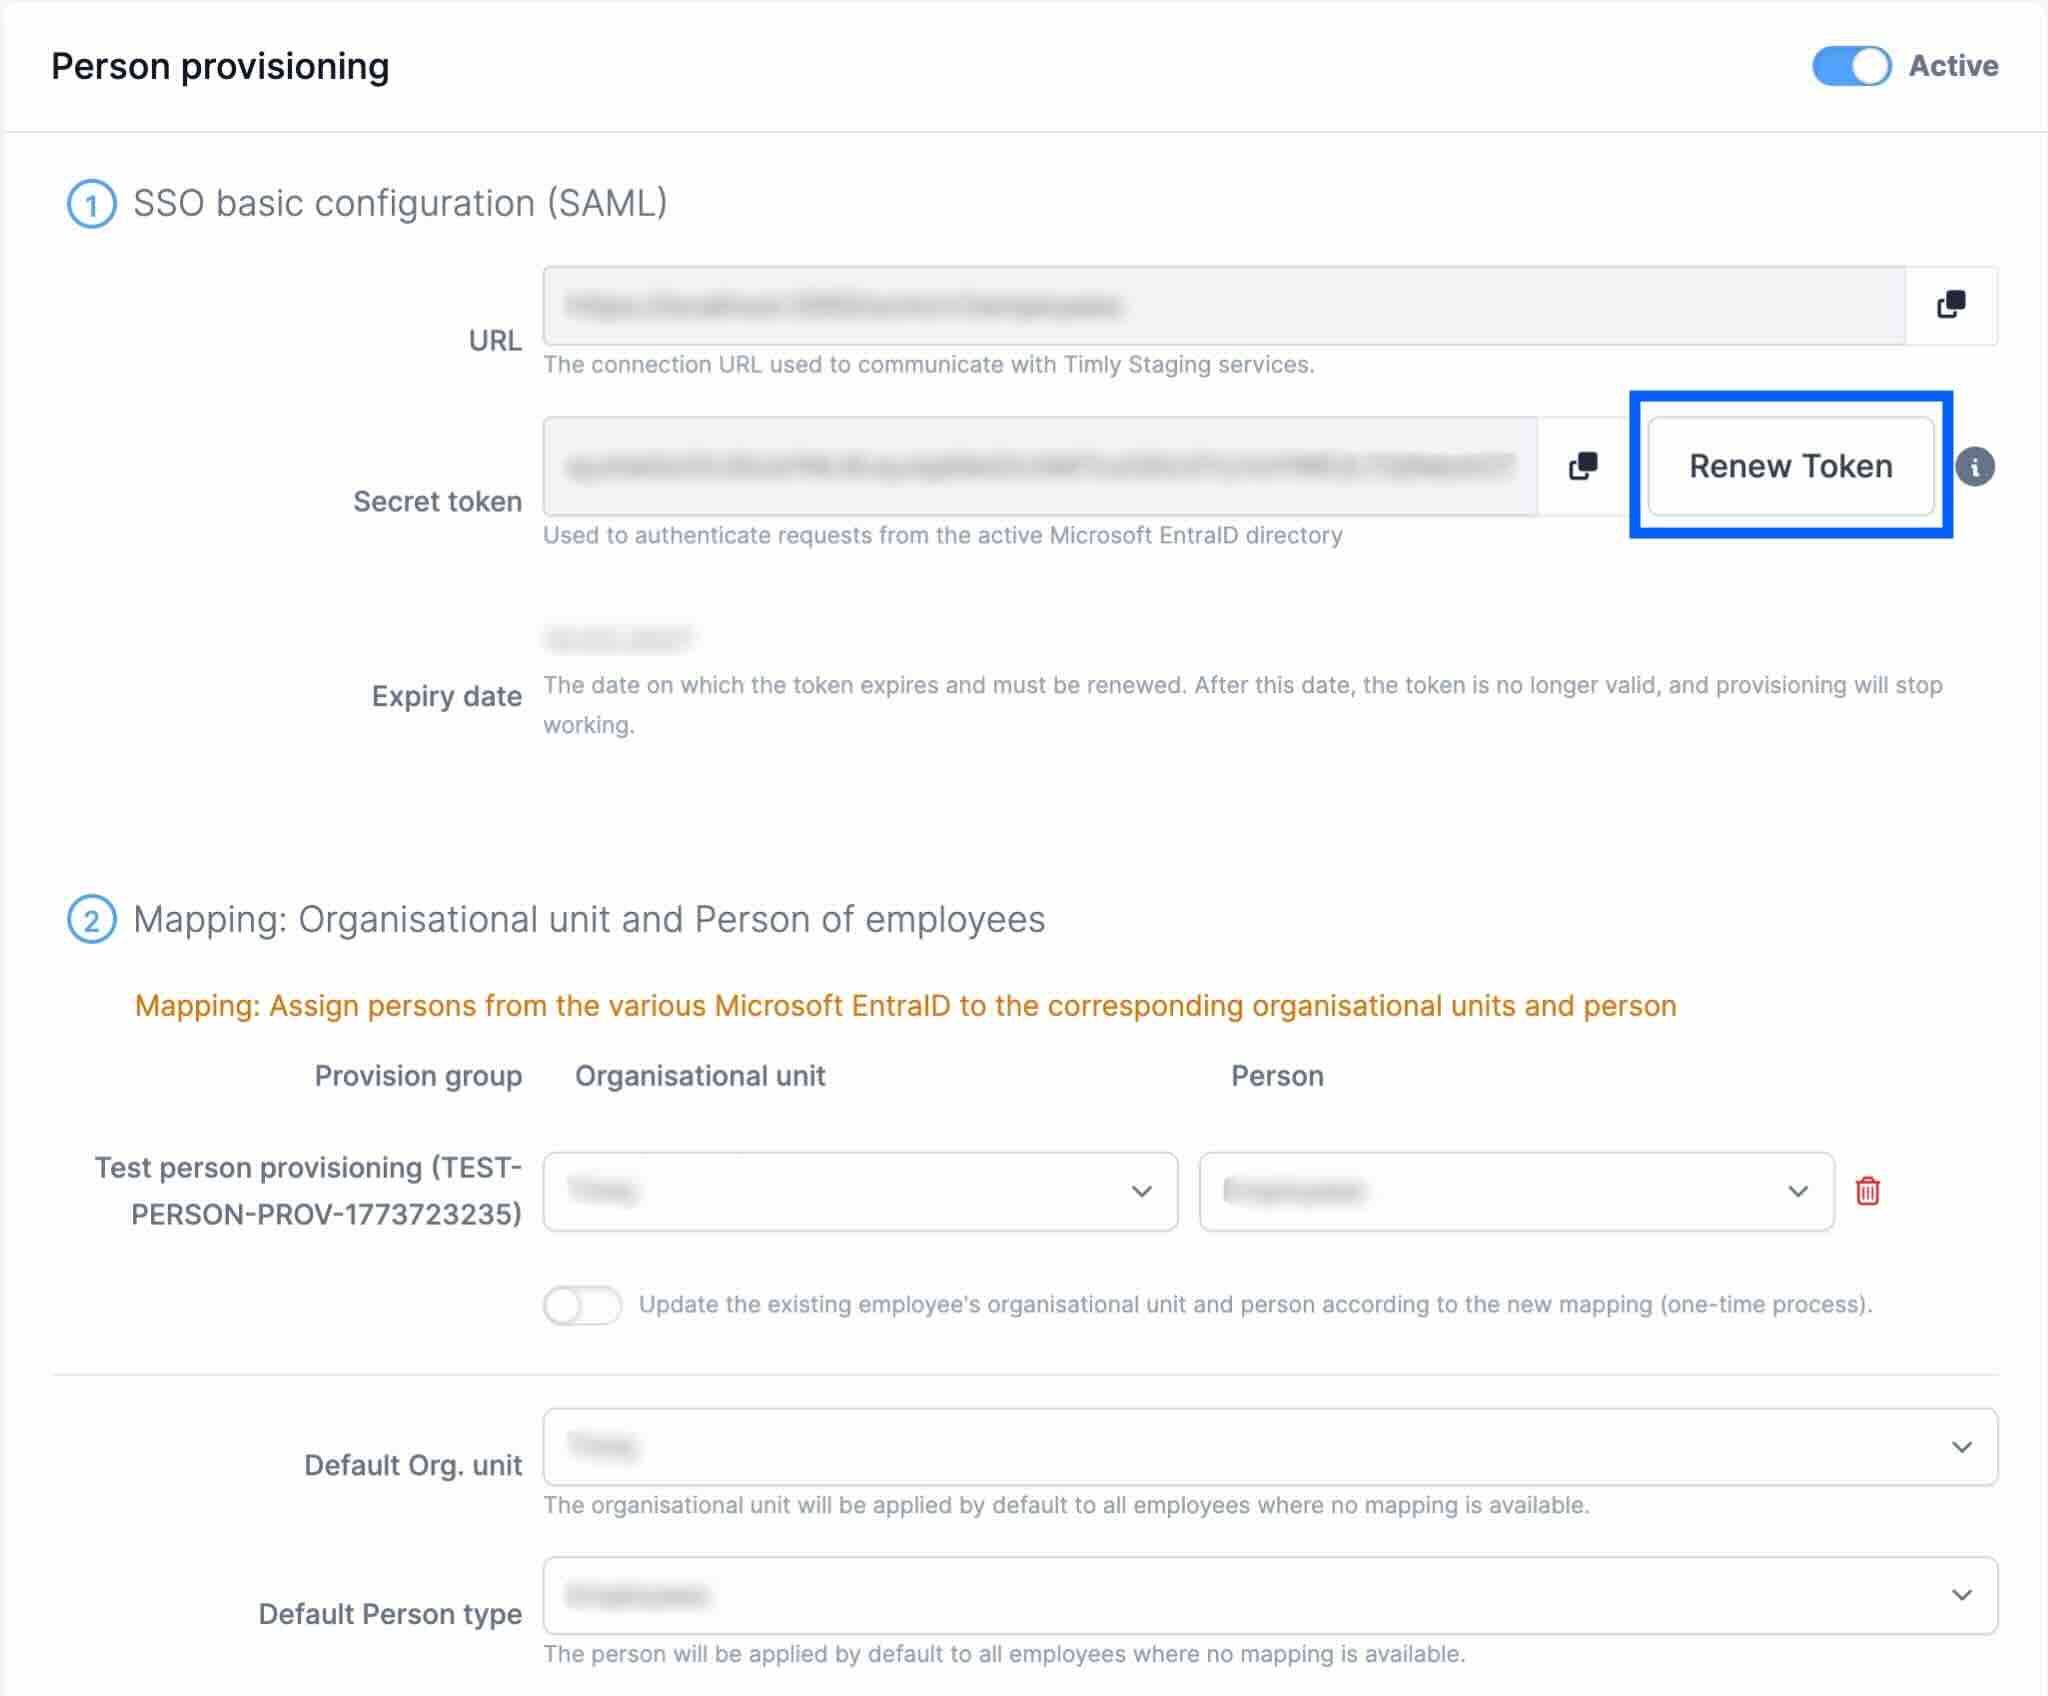
- Click the "Renew token" button
Step 3
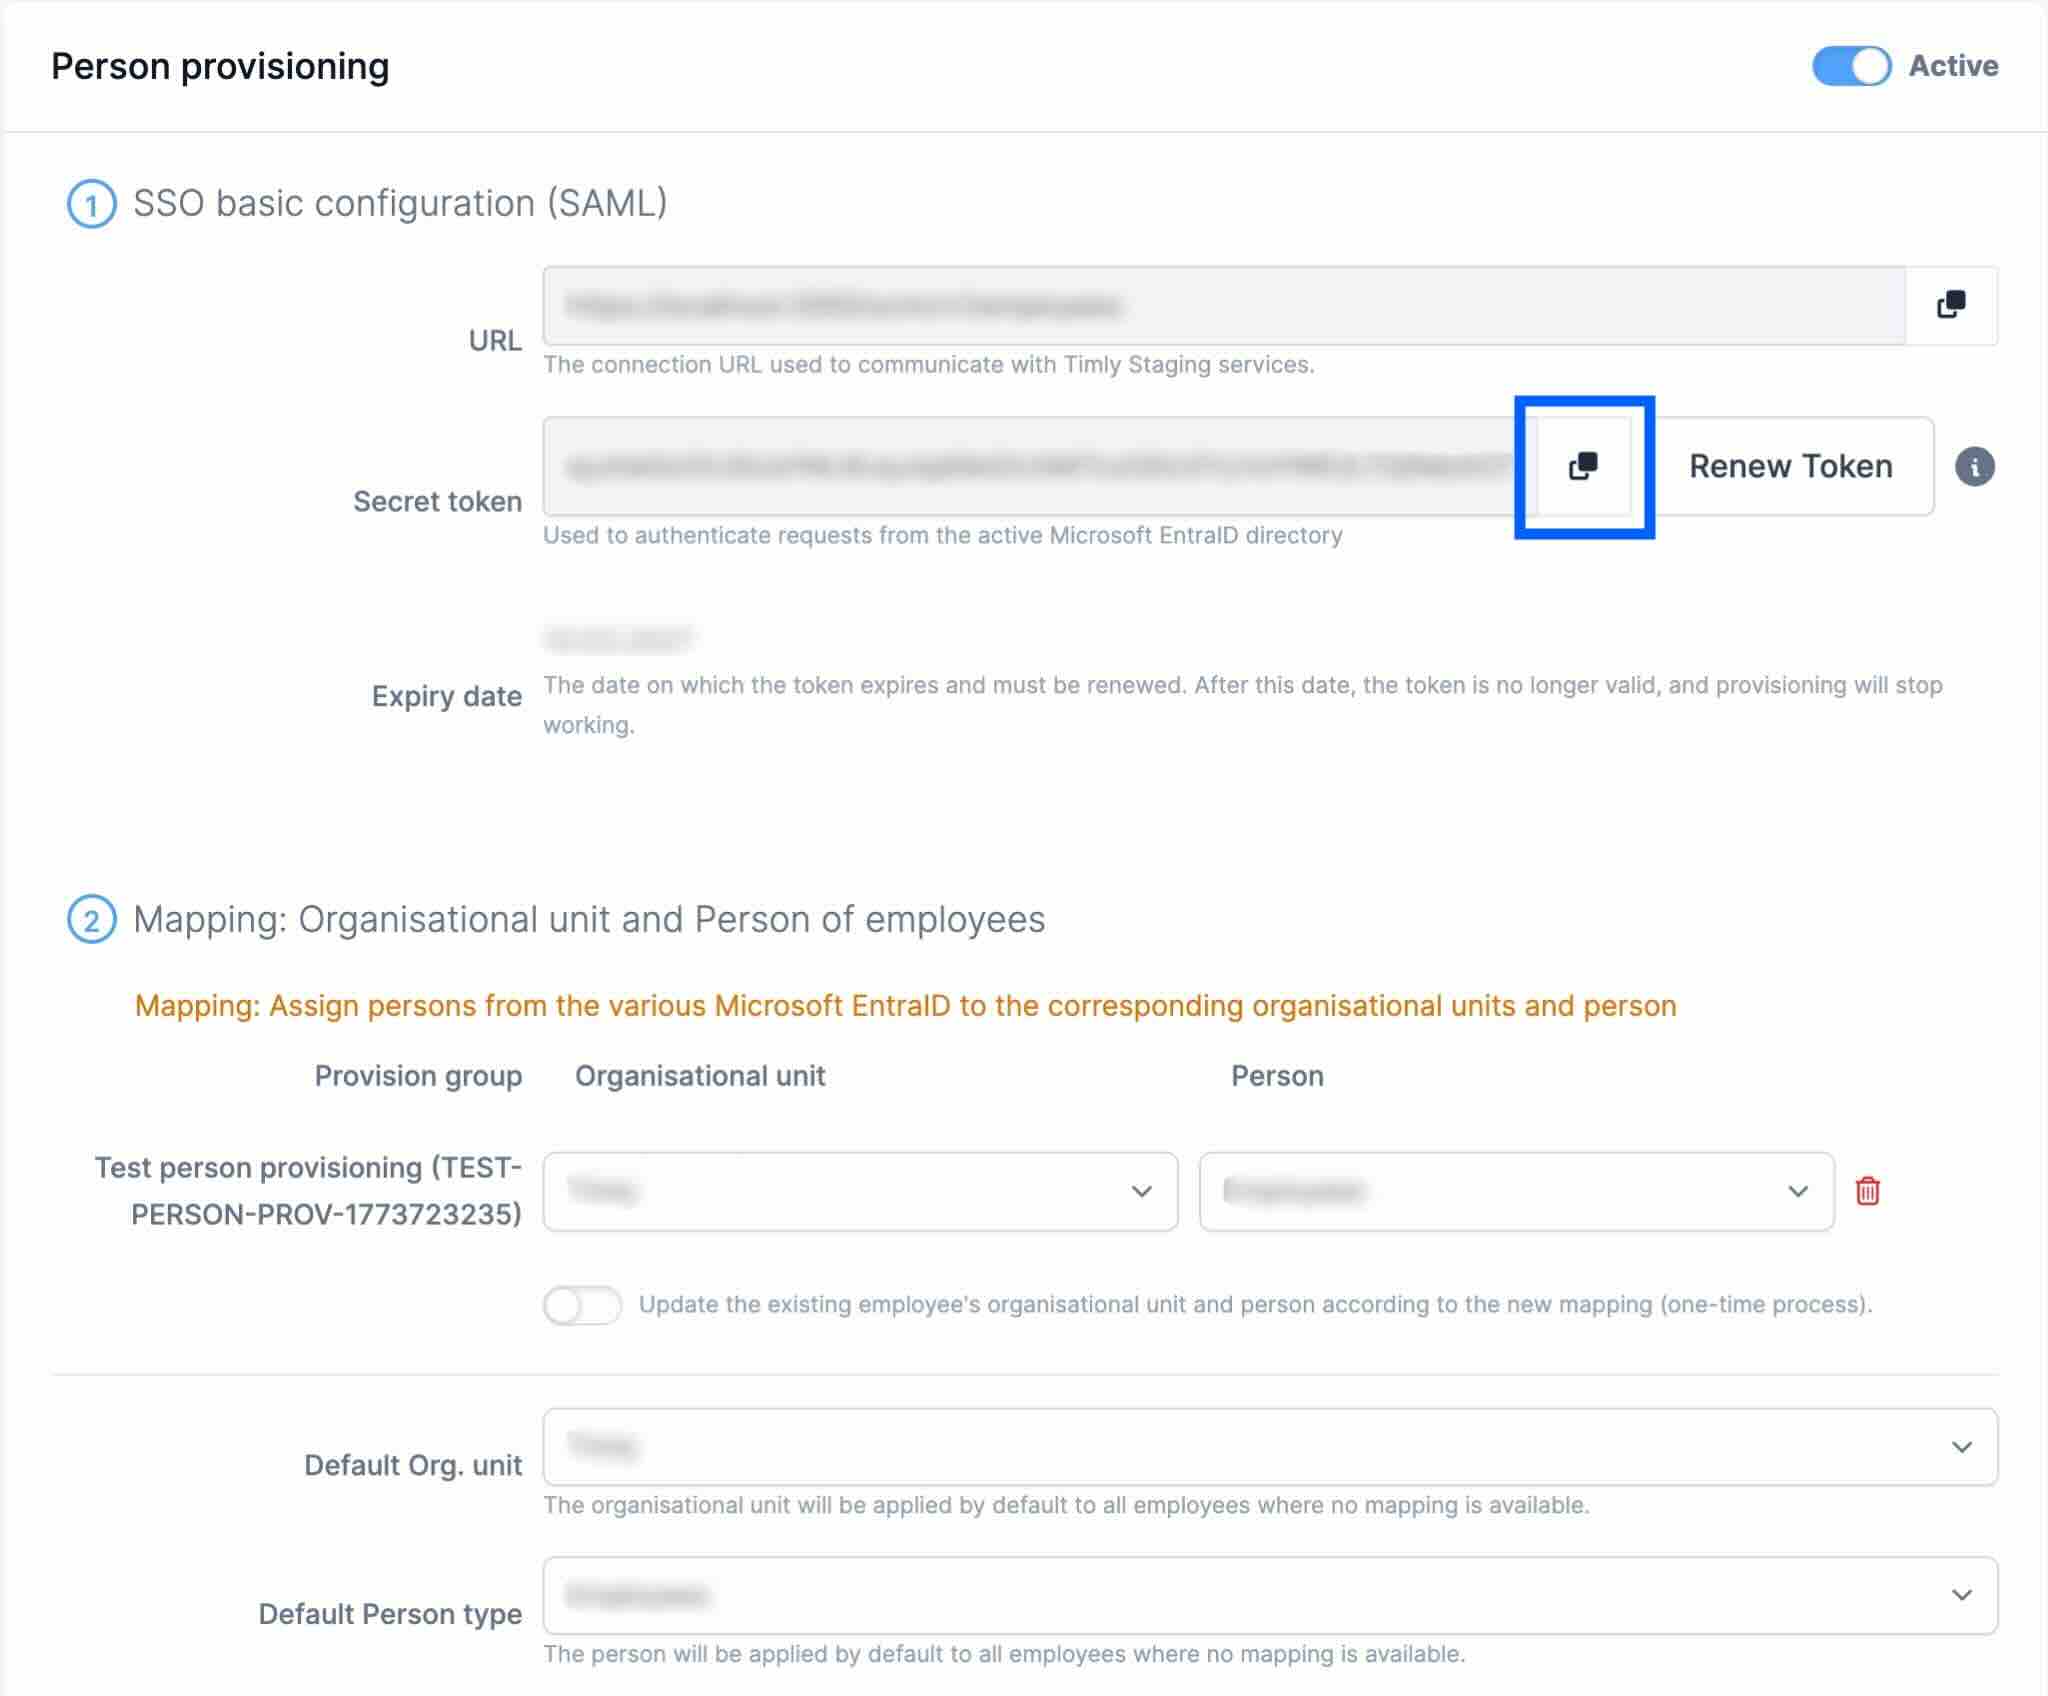
- Click the copy icon to copy the new token
🛜 Microsoft Entra ID
Step 4
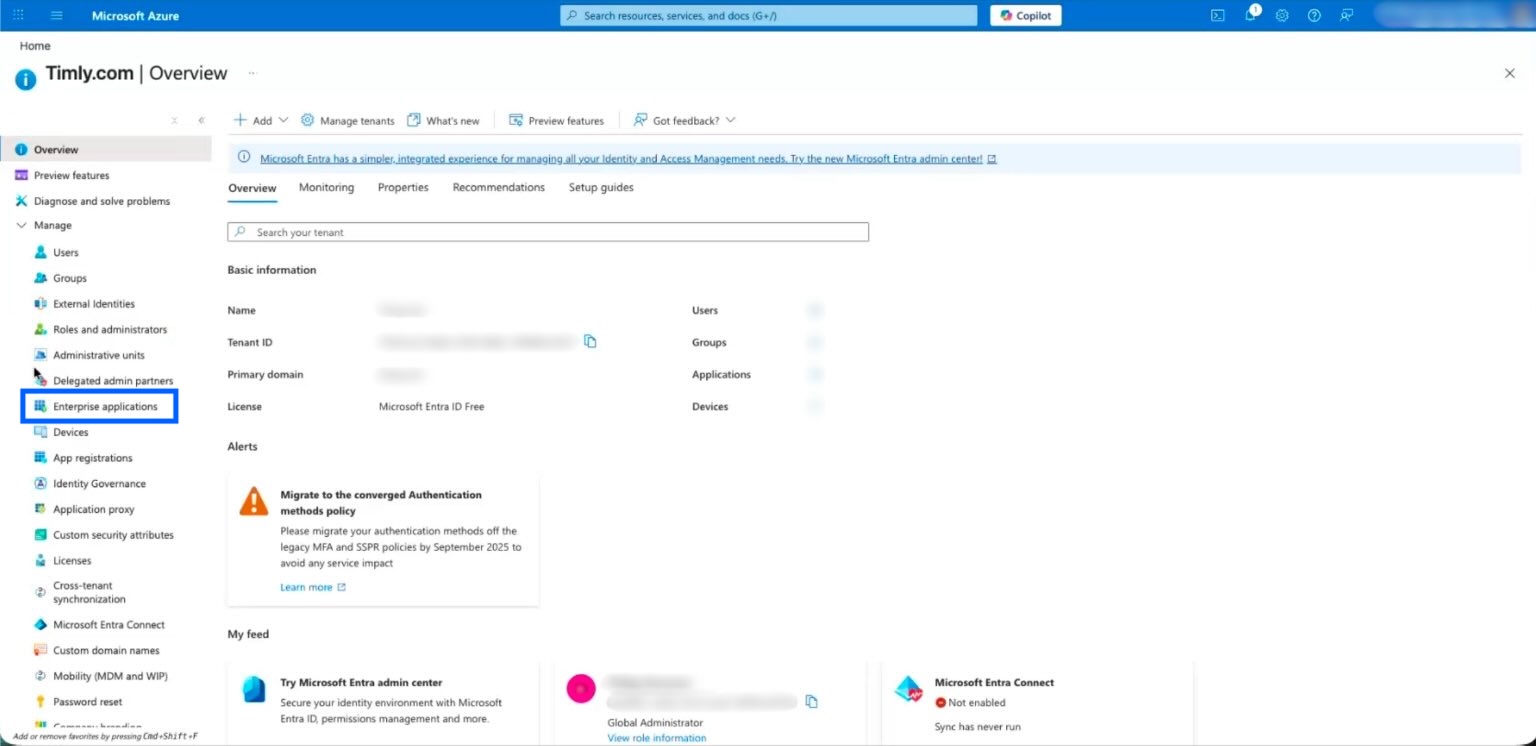
- Navigate to the "Enterprise applications" section
Step 5
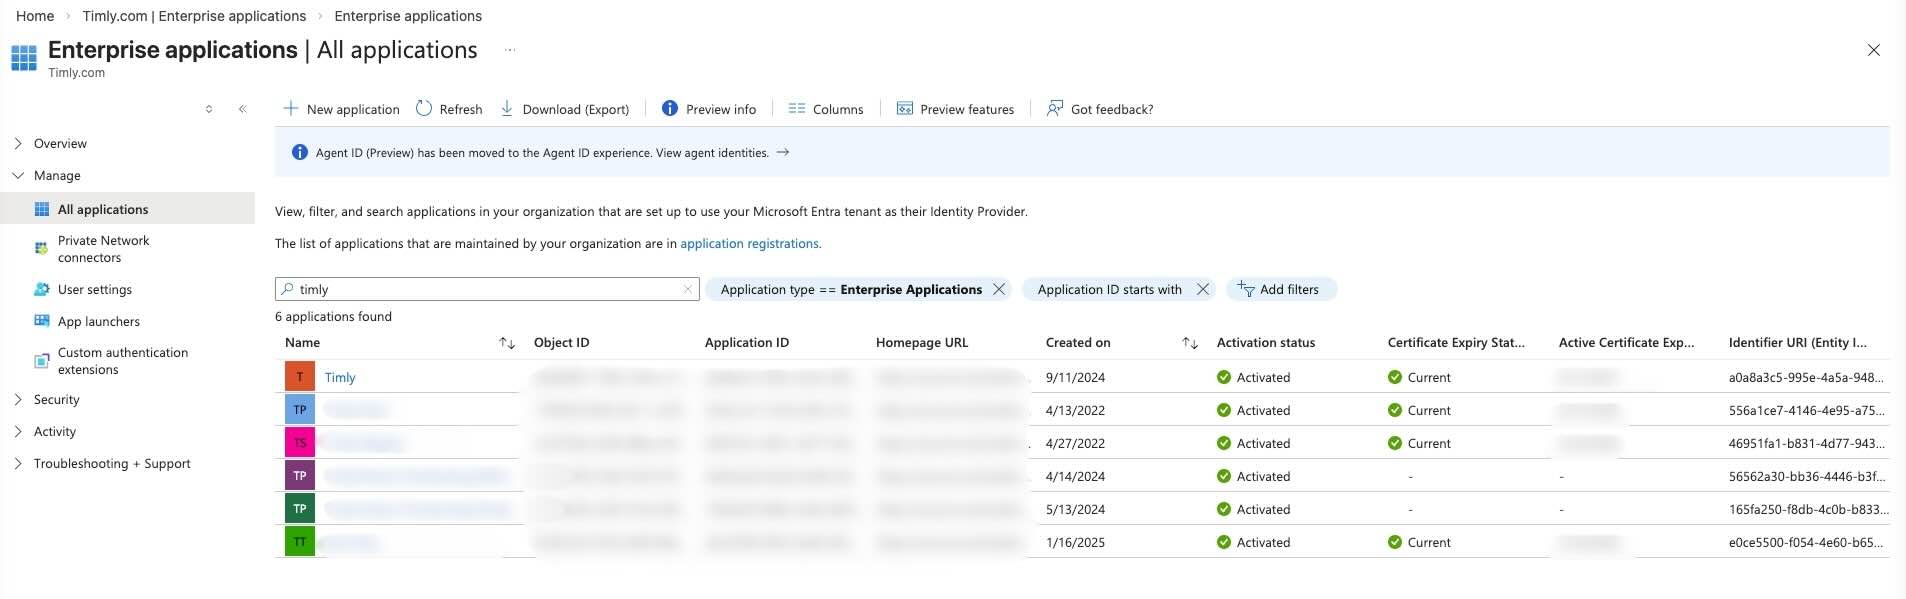
- Search for and click the domain for which you want to update the token
Step 6
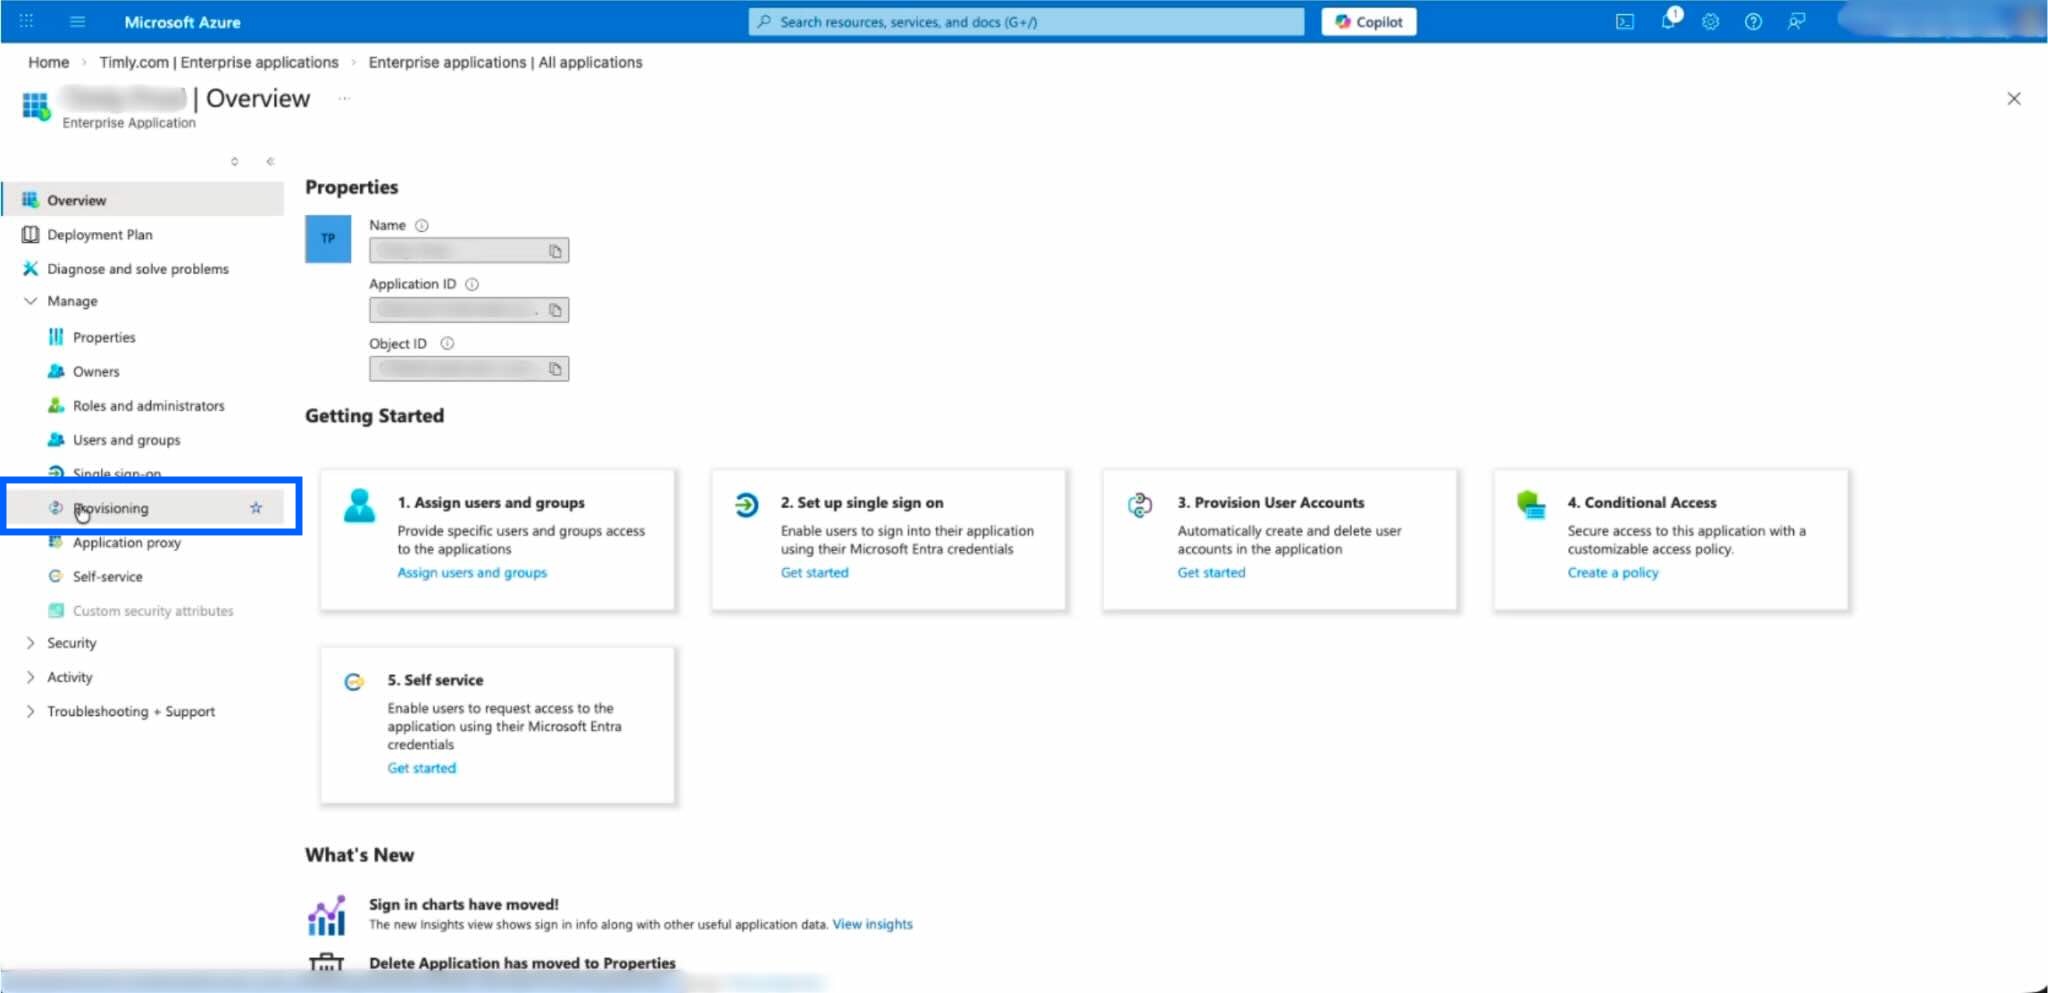
- Click "Provisioning"
Step 7
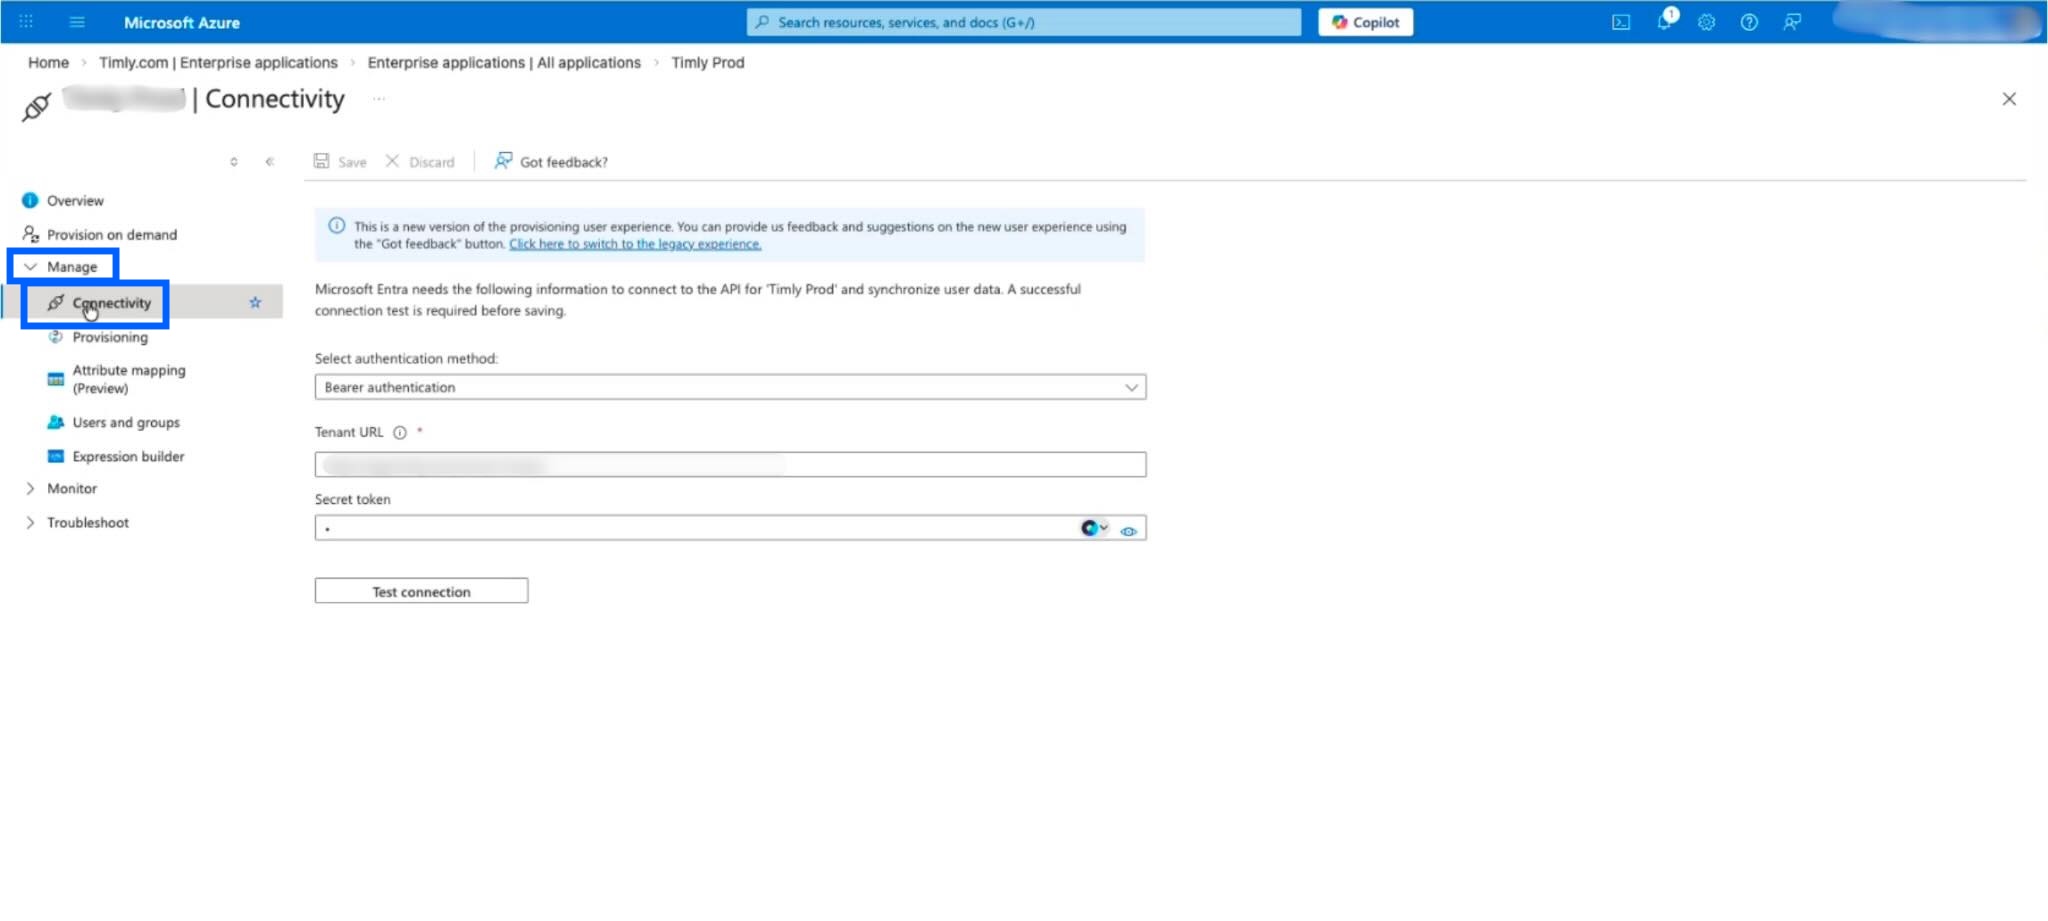
- Click the "Manage" menu item, then select "Connectivity"
Step 8
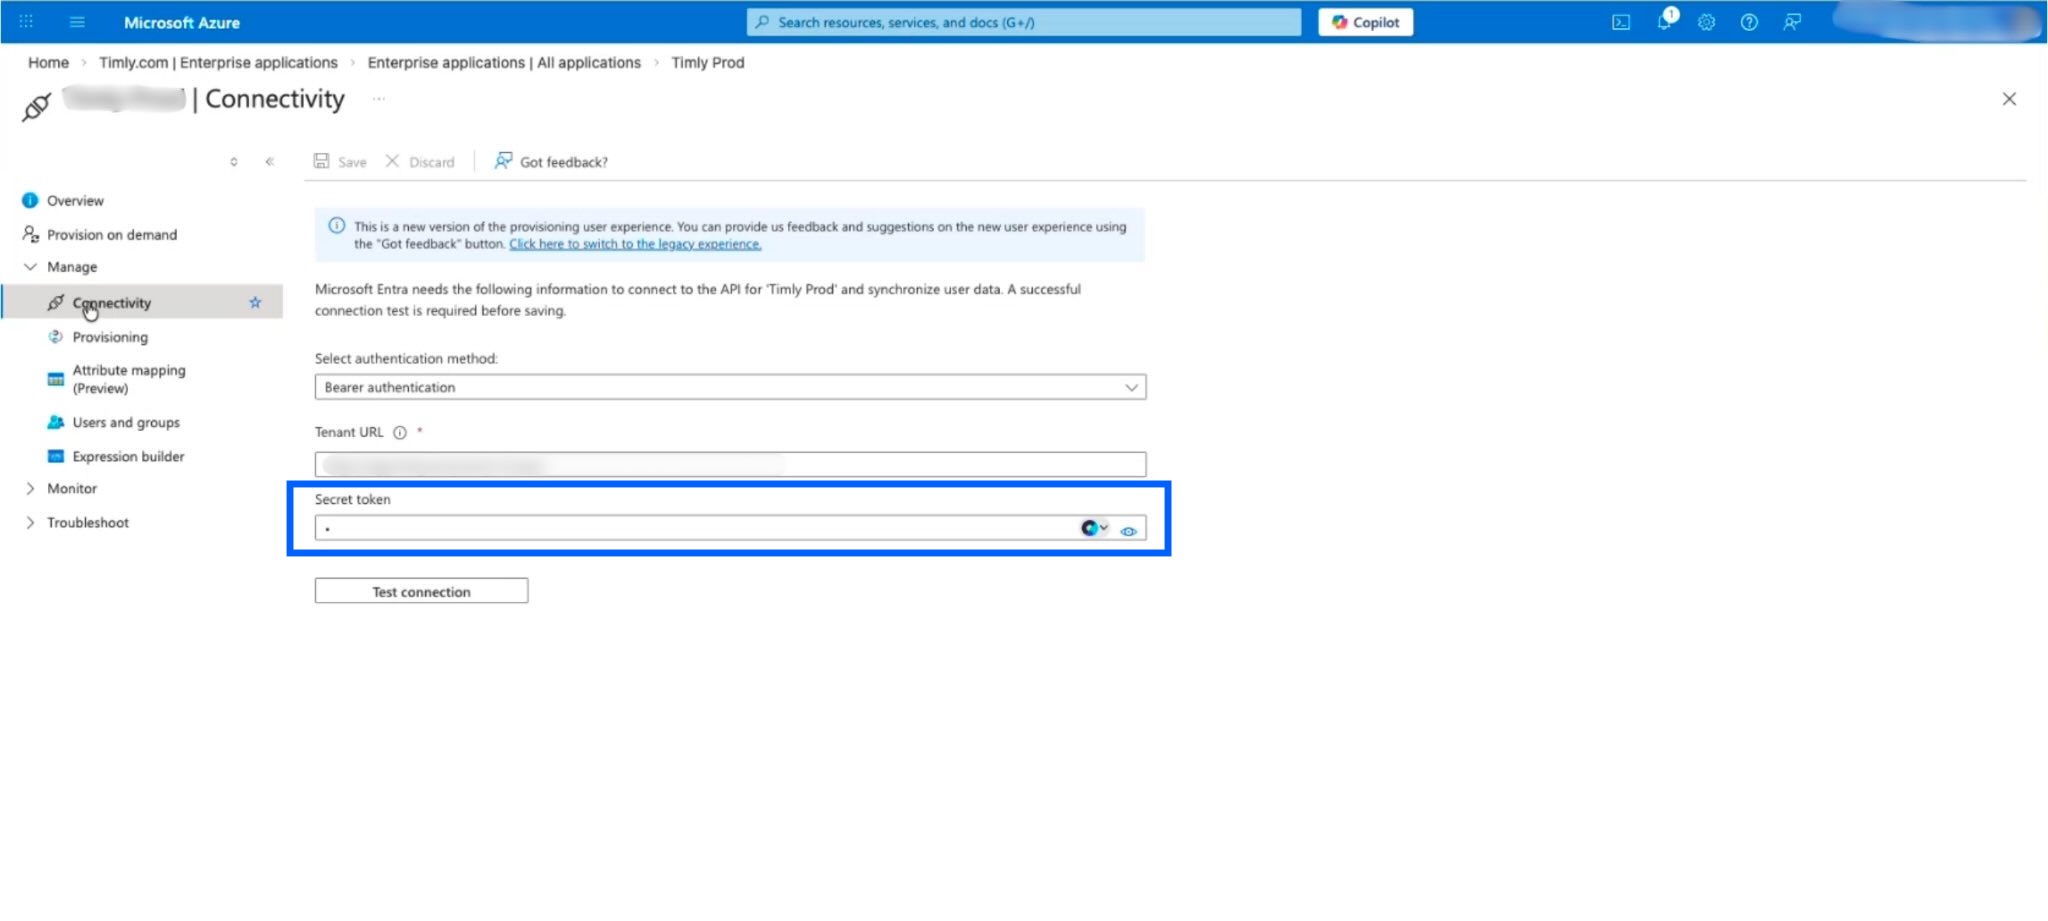
- Paste the new token in the "Secret token" field, then click "Save"
Optional: test the connection by clicking "Test connection"
📚 More Resources
- Help Center: F.1 - How to configure SSO
- Help Center: F.2 - How to configure user provisioning
- Help Center: F.3 - How to configure person provisioning
- Help Center: F.5 - How to renew the SSO certificate
📩 Interested in learning more about our SSO feature? Schedule a free and non-binding demo with one of our experts. For questions, feel free to contact us at [email protected].